Baking witch hat cupcakes isn’t just about the spooky looks—it’s about the little moments of chaos in the kitchen that turn into happy memories. The process of carving and filling adds a personal touch, making each cupcake a tiny magic trick. It’s a project that invites your messy creativity and makes the baking feel like play.
Why I Keep Making These Witch Hat Cupcakes
They evoke childhood memories of Halloween, with a dash of chaos and creativity. Every batch feels like a small celebration, and the surprise filling makes each cupcake special. Plus, they’re endlessly customizable—perfect for whatever theme or flavor you’re into.
Inside the Witch Hat Cupcakes: Ingredient Breakdown
- All-purpose flour: The base for the cupcake, gives structure and a tender crumb.
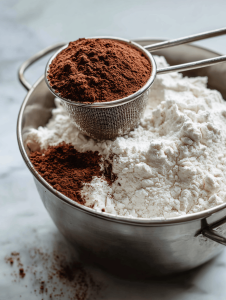
- Cocoa powder: Adds rich chocolate flavor and a dark hue. Use Dutch-processed for smoother taste.
- Butter: Creates a moist, tender cake; opt for unsalted for control over saltiness.
- Sugar: Sweetens and helps with browning; brown sugar adds a caramel note.
- Eggs: Bind the batter; bring richness and stability.
- Milk: Moistens the batter; use dairy or plant-based for dietary swaps.
- Frosting and decorations: Frosting acts as the glue and aesthetic layer; use buttercream or royal icing.
Tools & Equipment for Witch Hat Cupcakes
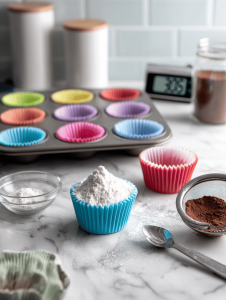
- Muffin tin and paper liners: To shape and bake the cupcakes evenly.
- Mixing bowls: For combining ingredients separately.
- Electric hand mixer or whisk: To beat the butter and sugar into a fluffy mixture.
- Small knife or cookie cutter: To carve out the cone shape from the cooled cupcakes.
- Piping bag and tips: For decorating with frosting and precise application.
Step-by-Step to Create Your Witch Hat Cupcakes
Step 1: Preheat your oven to 180°C (350°F).
Step 2: Line a muffin tin with paper cupcake liners.
Step 3: Mix the dry ingredients: flour, cocoa powder, baking powder, and salt.
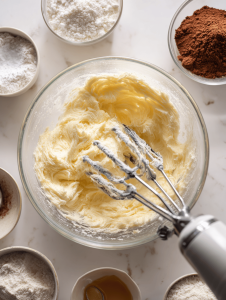
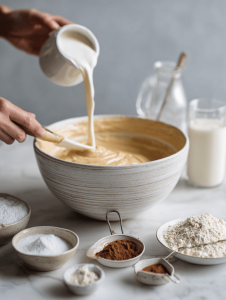
Step 4: In a separate bowl, beat the butter and sugar until fluffy, about 3 minutes.
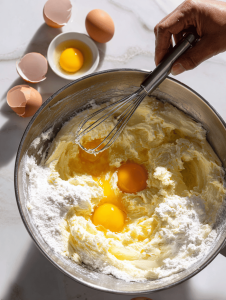
Step 5: Add eggs one at a time, then mix in vanilla and milk.
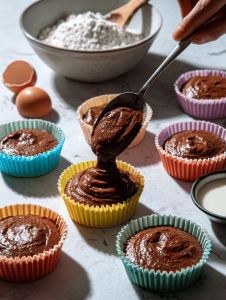
Step 6: Divide the batter evenly among the liners, filling about 2/3 full.
Step 7: Bake for 20-22 minutes, until a toothpick inserted in the center comes out clean.
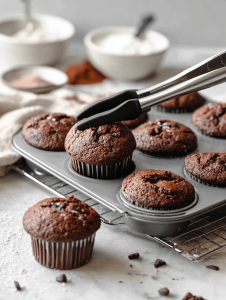
Step 8: Let the cupcakes cool in the tin for 5 minutes, then transfer to a wire rack.
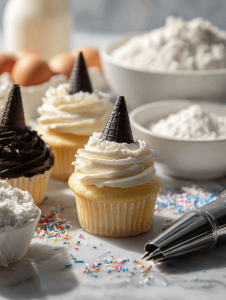
Step 9: Once cooled, carve a small cone out of the top of each cupcake, like a witch hat.
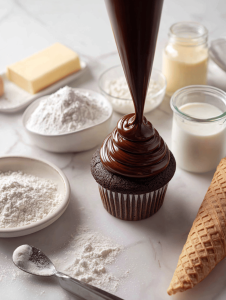
Step 10: Fill the cone with your choice of filling—chocolate ganache or fruit jam.
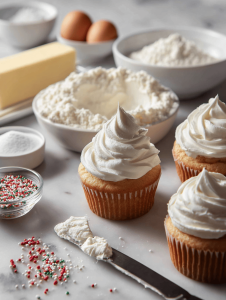
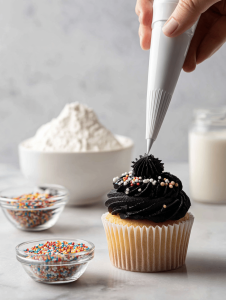
Step 11: Place the cone back on top and decorate with frosting and sprinkles to mimic a hat.
Step 12: Finish by adding a small buckle or a star on the tip for extra flair.
Cooking Checkpoints & Tips for Witch Hat Cupcakes
- Ensure the cupcakes are completely cooled before carving to prevent crumbs from breaking.
- The filling should be thick enough to stay in place without oozing out.
- Decorate with frosting and sprinkles immediately after filling for the best adhesion.
- Watch the oven closely; overbaking will dry out the cupcakes and ruin the texture.
Common Mistakes & How to Fix Them
- Carving uneven or squished cupcakes.? Use a sharp knife to carve the cupcakes; dull blades crush the cake.
- Filling oozing out and ruining the decoration.? Chill the filled cupcakes briefly before decorating to set the filling.
- Frosting sliding off or melting in warm hands.? Use a stiffer frosting for decorating; add a touch of powdered sugar if too soft.
- Overbaked cupcakes that crack or become crumbly.? Bake slightly less time if cupcakes turn dry.

Witch Hat Cupcakes
Ingredients
Equipment
Method
- Preheat your oven to 180°C (350°F) and line a muffin tin with paper liners.
- In a large bowl, sift together the flour, cocoa powder, baking powder, and salt to ensure even mixing.
- In a separate bowl, beat the softened butter and sugar with an electric mixer until light and fluffy, about 3 minutes, and you hear a gentle squeak from the mixture.
- Add eggs one at a time to the butter mixture, beating well after each addition, then mix in vanilla extract.
- Gradually add the dry ingredients to the wet mixture, alternating with the milk, starting and ending with the dry ingredients. Mix until just combined and the batter is smooth.
- Divide the batter evenly among the cupcake liners, filling each about two-thirds full, and bake for 20-22 minutes or until a toothpick inserted in the center comes out clean.
- Remove the cupcakes from the oven and let them cool in the tin for 5 minutes before transferring to a wire rack to cool completely.
- Once fully cooled, use a small knife or cookie cutter to carefully carve out a small cone at the top of each cupcake, creating a hat shape.
- Fill the carved cone with your choice of filling, such as chocolate ganache or fruit jam, using a piping bag or teaspoon.
- Place the cone back on top of each cupcake, pressing gently to secure, then pipe a layer of frosting over the entire cupcake to resemble a hat.
- Add sprinkles, candies, or edible decorations to embellish the hat and add a festive touch.
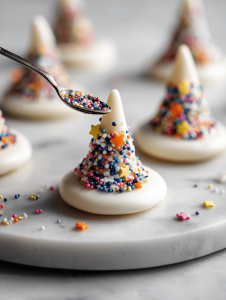
- Finish by piping a small star or buckle on the tip of each hat for extra flair. Serve and enjoy these playful Halloween treats!
Notes

Hi, I’m Lily Hayes, the cook, writer, and heart behind Loving This Process. This blog is built on a simple idea that food is not just about the final dish, but about everything that happens while you’re making it. The thinking, the tasting, the adjusting, the learning, and the quiet moments in between. Food has been a constant presence in my life, not as something flashy or perfect, but as something deeply grounding. Cooking has always felt like a process worth savoring, even when it’s messy, slow, or imperfect.


Leave a Reply