Halloween baking often leans on the tried-and-true, but I like to shake things up with flavors that surprise. Pumpkin isn’t just for pies—its mellow sweetness and earthy aroma can turn a simple sugar cookie into a seasonal treat with a cozy twist. Plus, I love how the warm spices evoke memories of chilly evenings and flickering candles.
Why I keep baking these spooky treats
They’re simple enough for a quick bake, but the flavor layers feel festive and nostalgic. I love the surprise of pumpkin in a cookie—unexpected yet comforting. Plus, decorating these cookies is a perfect chaos of colors and design, making every batch uniquely mine.
Breaking down the spooky ingredients
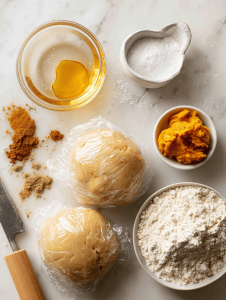
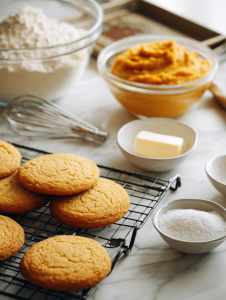
- Pumpkin puree: Adds moisture and a subtle sweet earthiness, plus a moist crumb. Swap with sweet potato puree if needed.
- Cinnamon and pumpkin spice: Warm, fragrant spices that evoke fall and Halloween vibes, balancing sweetness.
- Butter: Creams into sugar for tender cookies, but coconut oil works for dairy-free.
- Sugar: Sweetens and helps with browning. Brown sugar adds a caramel note.
- Flour: The structure backbone; all-purpose works, but almond flour adds richness.
- Vanilla extract: Brightens flavors; vanilla bean paste adds depth.
- Egg (optional for binding): Makes cookies more tender, but can be skipped for vegan options.
Tools of the spooky trade
- Rolling pin: To evenly flatten the dough to the right thickness.
- Cookie cutters: To cut out festive shapes like bats, pumpkins, or ghosts.
- Baking sheets: To provide a flat, even surface for baking.
- Parchment paper: To prevent sticking and make cleanup easier.
- Cooling rack: To cool cookies evenly and avoid sogginess.
Step-by-step guide to spooky, spiced pumpkin sugar cookies
Step 1: Preheat your oven to 180°C (350°F).
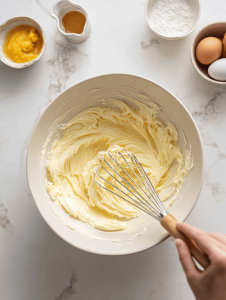
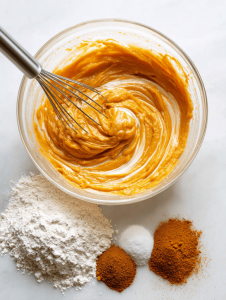
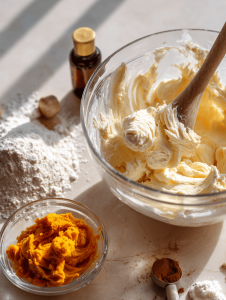
Step 2: In a bowl, cream together butter and sugar until light and fluffy, about 3 minutes.
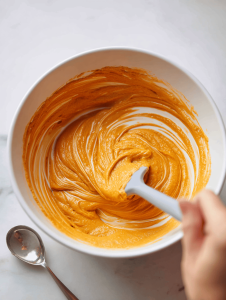
Step 3: Mix in pumpkin puree, vanilla extract, and a pinch of cinnamon, blending until smooth.
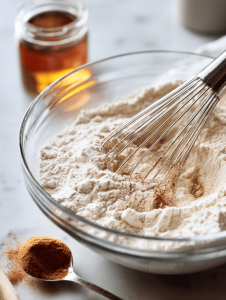
Step 4: In another bowl, whisk together flour, baking soda, salt, and pumpkin spice.
Step 5: Gradually add dry ingredients to wet, mixing just until combined.
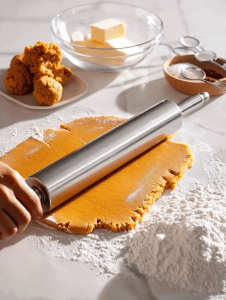
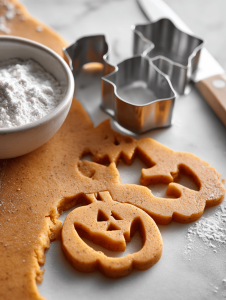
Step 6: Roll out dough on a lightly floured surface to about 0.5 cm thick.
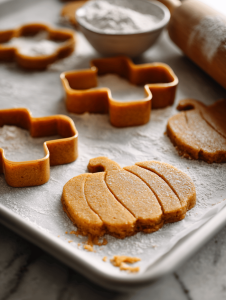
Step 7: Cut into spooky shapes with cookie cutters; transfer to parchment-lined baking sheets.
Step 8: Bake for 10-12 minutes or until edges are golden brown.
Step 9: Let cookies cool on a rack for at least 15 minutes before decorating.
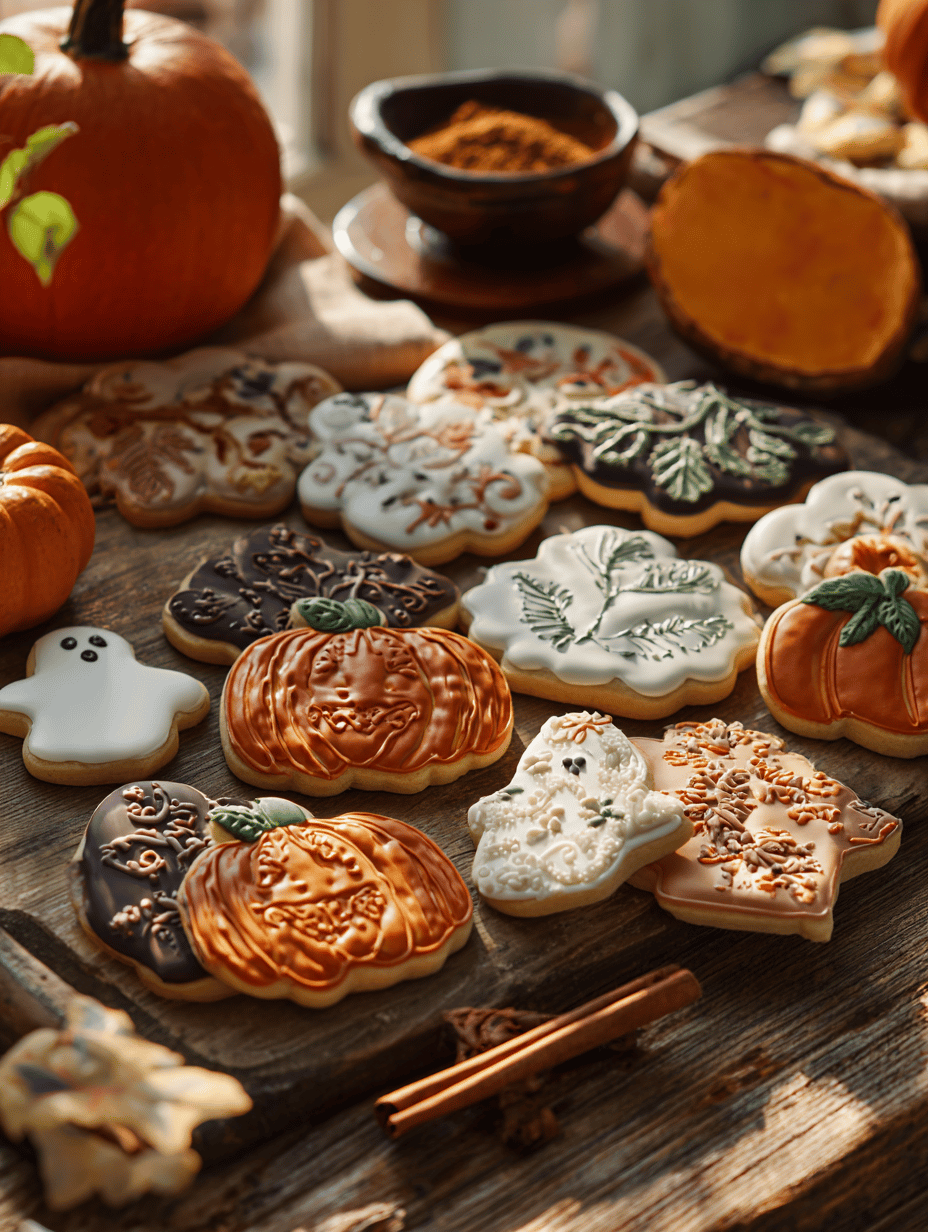
Step 10: Decorate with royal icing, edible glitter, or candy accents to finish.
Cautionary markers and tips for perfect cookies
- Cookies should be just golden at the edges—don’t overbake or they’ll dry out.
- Dough should be firm but pliable—if sticky, chill it for 30 minutes.
- Watch for even rolling—thick edges won’t bake uniformly.
- Decorate only when cookies are completely cooled to avoid smudging.
Troubleshooting spooky baking mishaps
- Dough sticking excessively to your rolling pin or surface.? Add a little more flour if dough is too sticky.
- Cookies spreading too much during baking.? Chill dough for 30 minutes if it’s too soft.
- Cookies turning dark around the edges too quickly.? Reduce oven temperature slightly or bake a minute less.
- Shapes losing definition after baking.? Use a sharp knife to re-cut shapes if they deform.
Spooky Pumpkin Sugar Cookies
Ingredients
Equipment
Method
- In a large mixing bowl, beat the softened butter and sugar together until the mixture is light, fluffy, and fragrant, about 3 minutes.
- Stir in the pumpkin puree and vanilla extract, blending until the mixture is smooth and evenly combined.
- In a separate bowl, whisk together the flour, baking soda, cinnamon, pumpkin spice, and salt.
- Gradually add the dry ingredients to the wet mixture, mixing just until combined and a soft dough forms.
- Divide the dough in half, wrap each portion in plastic wrap, and chill in the refrigerator for at least 30 minutes to relax the gluten and firm up.
- Preheat your oven to 180°C (350°F) and line baking sheets with parchment paper.
- Remove one dough portion from the fridge and place on a lightly floured surface. Roll it out to about 0.5 cm thickness, smoothing out any cracks.
- Use spooky-shaped cookie cutters to cut out shapes from the dough, pressing firmly to ensure clean edges.
- Transfer the cutouts to the prepared baking sheets, spacing them slightly apart to allow for expansion.
- Bake the cookies in the preheated oven for 10-12 minutes, or until the edges are golden brown and slightly firm to the touch.
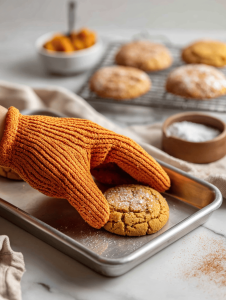
- Remove the cookies from the oven and let them cool on the baking sheet for about 5 minutes, then transfer to a wire rack to cool completely before decorating.
Notes

Hi, I’m Lily Hayes, the cook, writer, and heart behind Loving This Process. This blog is built on a simple idea that food is not just about the final dish, but about everything that happens while you’re making it. The thinking, the tasting, the adjusting, the learning, and the quiet moments in between. Food has been a constant presence in my life, not as something flashy or perfect, but as something deeply grounding. Cooking has always felt like a process worth savoring, even when it’s messy, slow, or imperfect.
Leave a Reply