Roasted Pumpkin Ravioli: A Cozy Fall Treasure with a Crunch
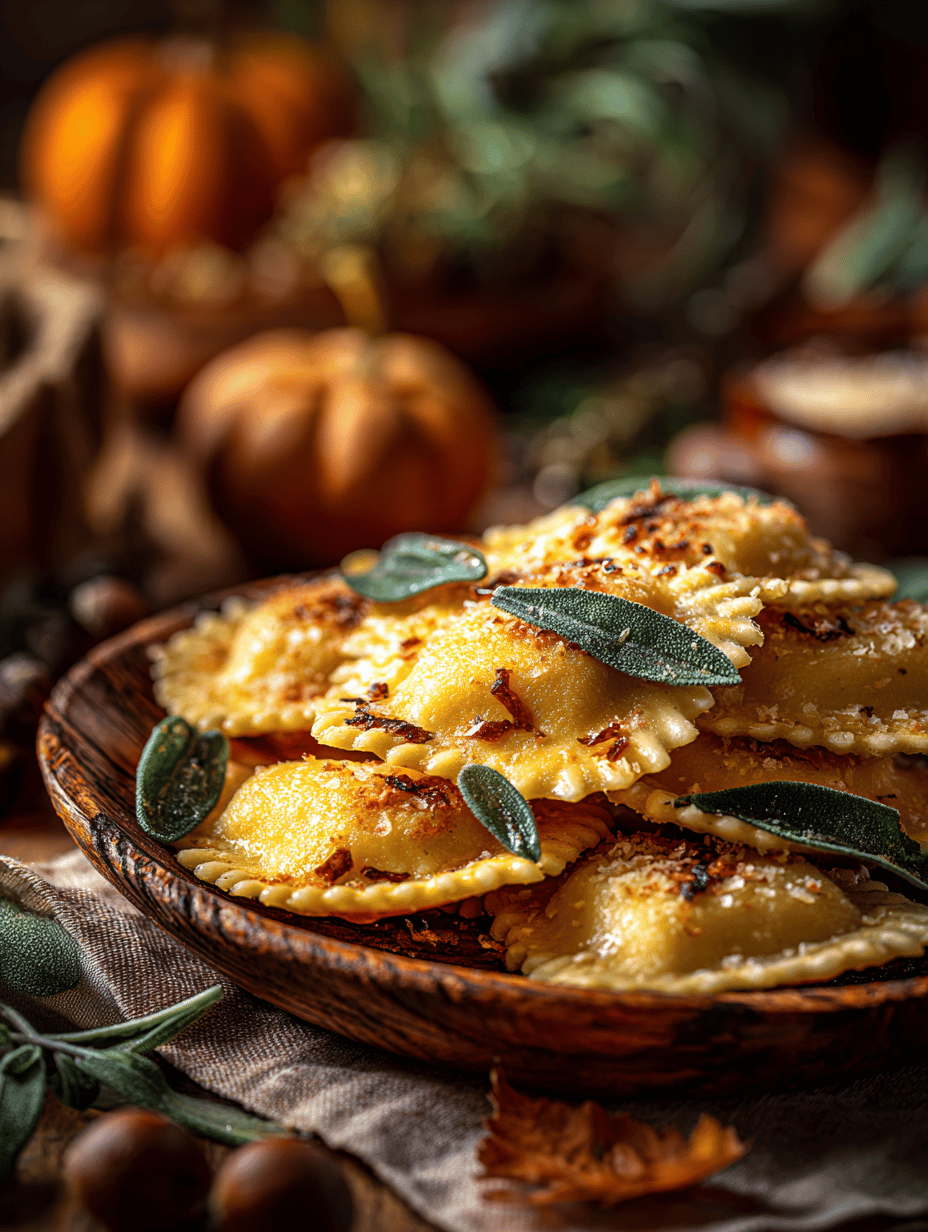
This recipe is a little departure from the usual pumpkin pasta, leaning into the seasonal magic of roasted squash. I love the way the oven’s warmth transforms the pumpkin into something intensely sweet and smoky, perfect for filling delicate pasta pockets. It’s a cozy project that makes the house smell like fall in every breath. … Read more