Vegetable Pakoras Recipe
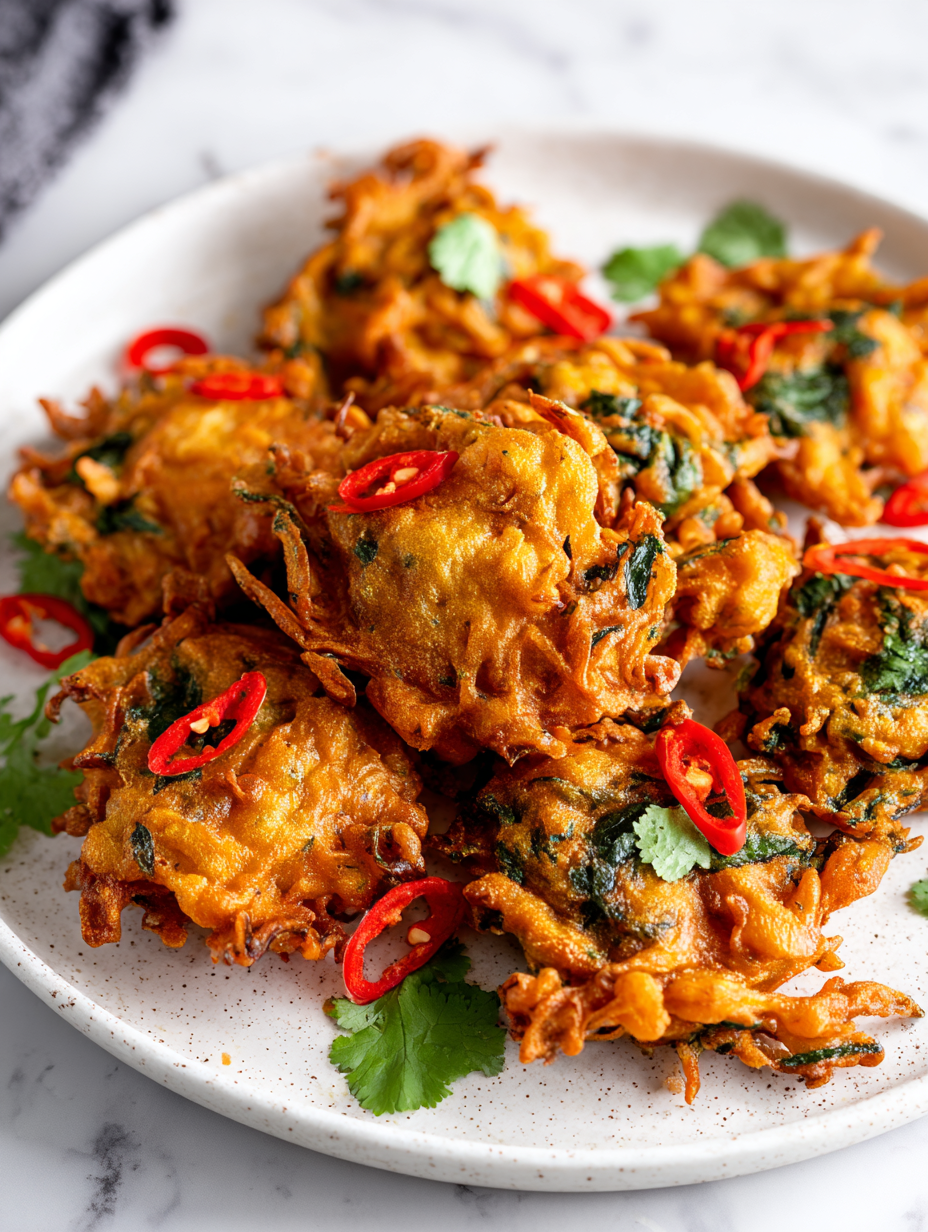
There’s something about homemade vegetable pakoras that feels unpolished in the best way—uneven shapes, crispy edges, and all. I love how each batch turns out a little different, like little kitchen experiments that remind me of lazy weekend afternoons and childhood snack times. It’s not about perfection but about embracing those rustic, imperfect moments that … Read more