Caramel Slushie: The Summer Nostalgia You Never Saw Coming
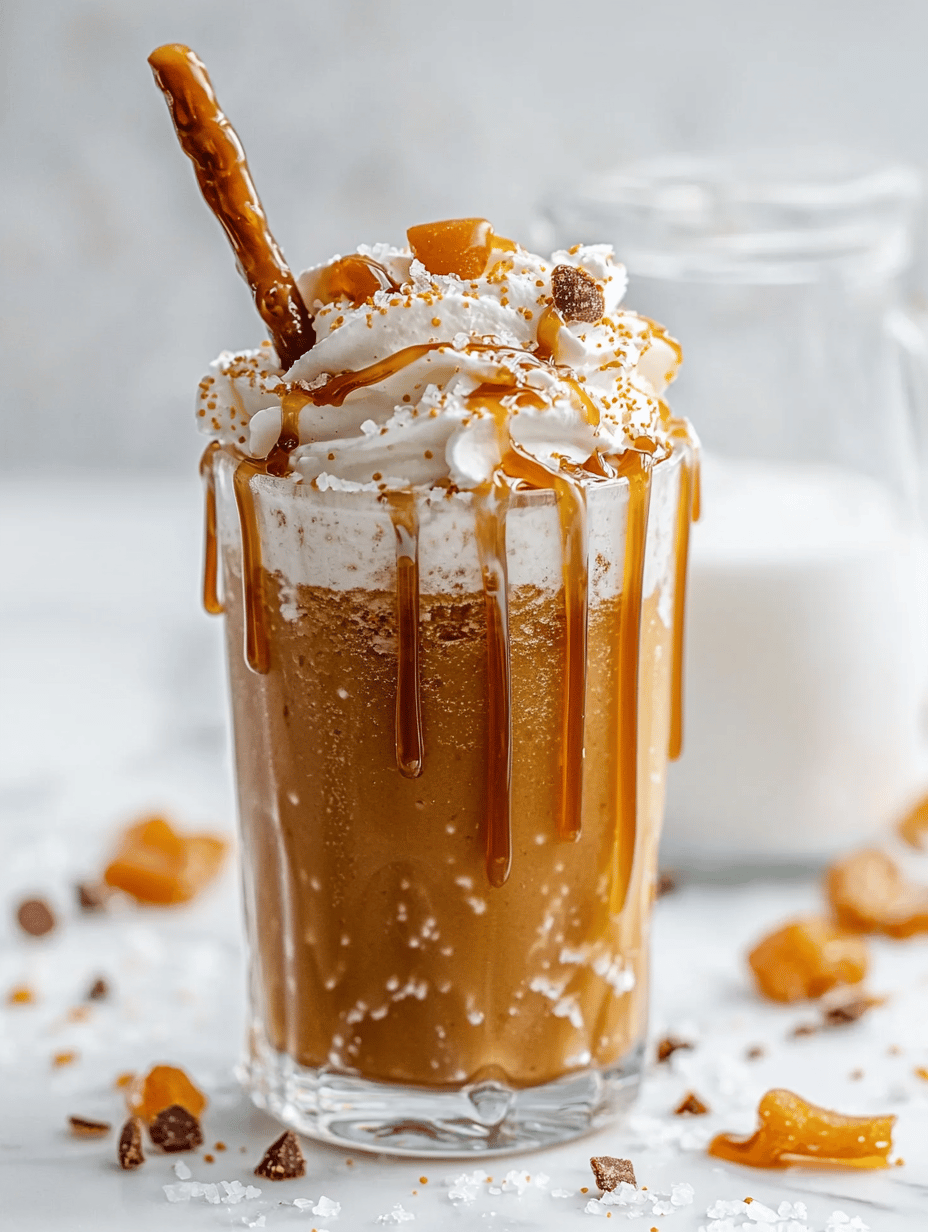
The sweltering heat calls for an unexpected chill. A caramel slushie might seem ordinary, but its smoky aroma and rich, buttery sweetness make it a cozy escape on a hot day. Imagine a glass with caramel swirls dancing in icy layers, every sip reminding you of old-school ice cream trucks but with a grown-up twist. … Read more