Unconventional Halloween Sugar Cookies: A Spiced Pumpkin Twist
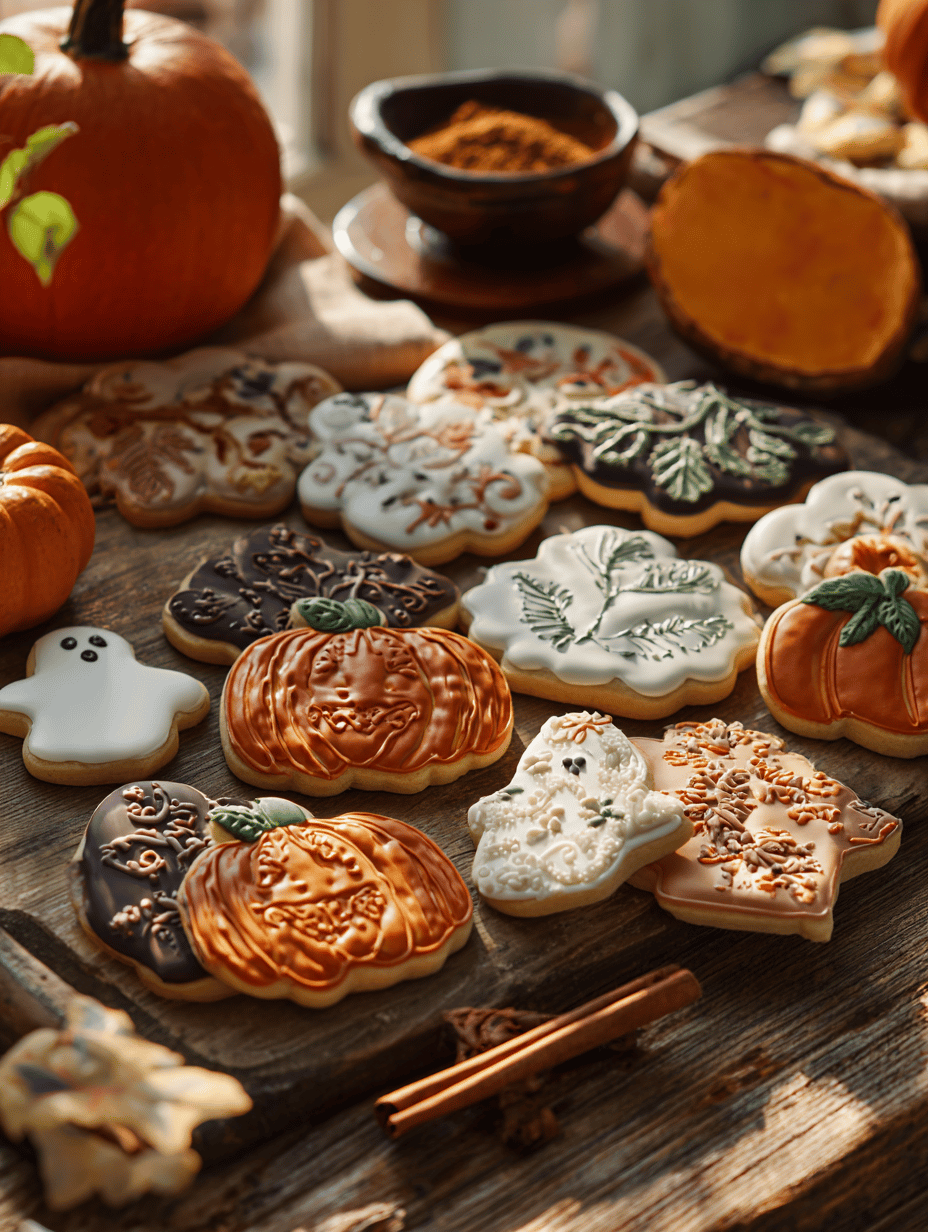
Halloween baking often leans on the tried-and-true, but I like to shake things up with flavors that surprise. Pumpkin isn’t just for pies—its mellow sweetness and earthy aroma can turn a simple sugar cookie into a seasonal treat with a cozy twist. Plus, I love how the warm spices evoke memories of chilly evenings and … Read more