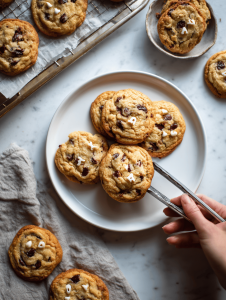
These haunted house cookies are a little bit spooky, a little bit sweet, and totally fun to make. I love how they turn out each time—some look more ghostly, others more ghoulish. It’s a way to bring a bit of wild creativity into the kitchen, especially when the season feels a little darker and cozier.
Why I Keep Coming Back to Haunted House Cookies
They’re a playful challenge—getting shapes just right, decorating with creepy details. I love how each batch feels like a little haunted adventure. Plus, the kids get a kick out of the spooky faces and gooey icing. It’s chaos, mess, and magic all rolled into one batch.
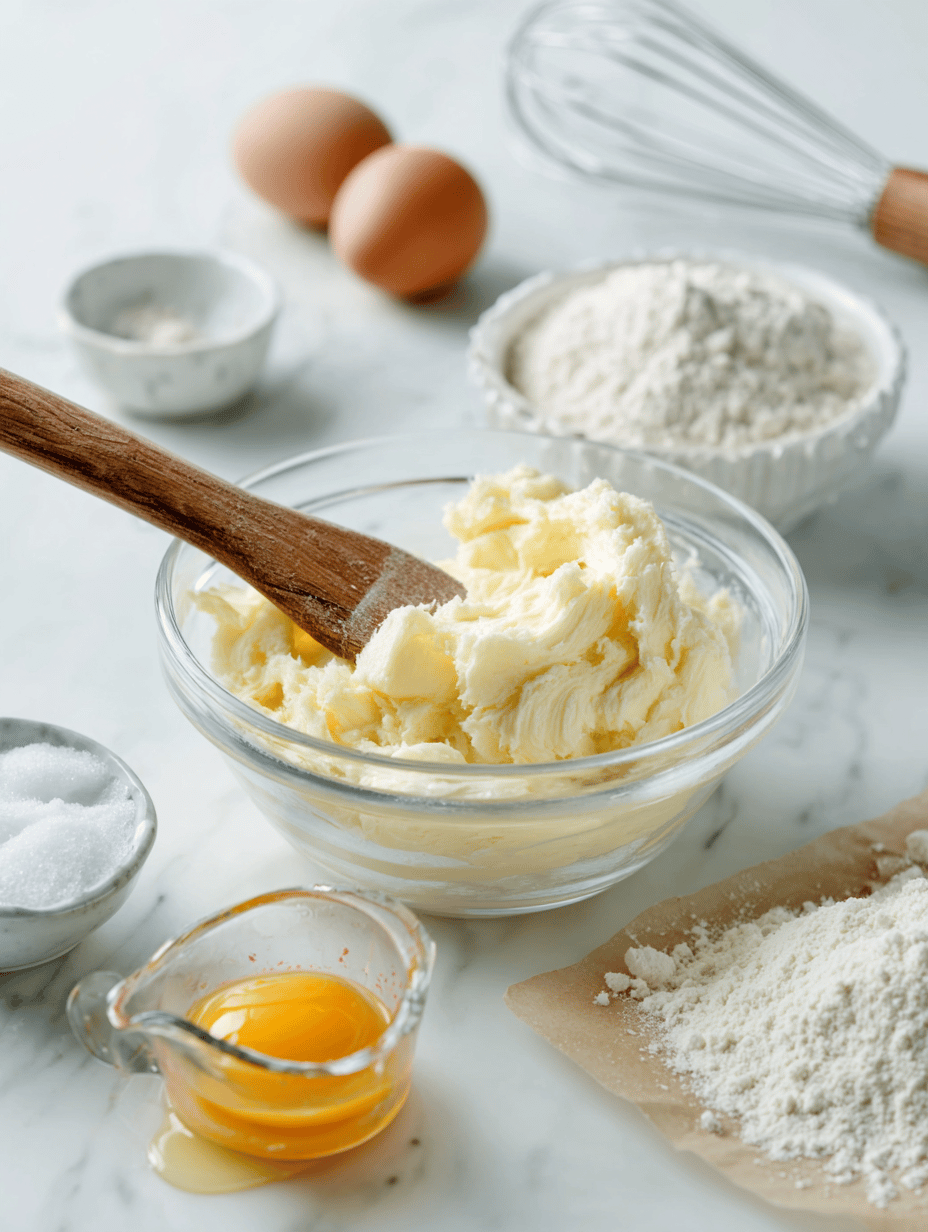
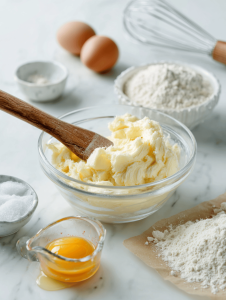
Components of the Haunted House
- Butter: Rich, creamy base that gives cookies a tender crumb. Use unsalted for better control.
- Sugar: Sweet and crisp, helps browning and crackling during baking.
- Eggs: Bind everything together, adds moisture and richness.
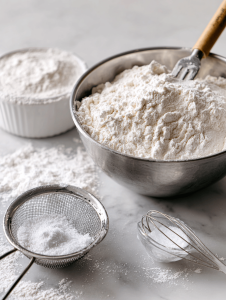
- Flour: Provides structure. All-purpose works fine, but pastry flour makes softer cookies.
- Vanilla extract: Brightens flavors with warm, floral notes—skip if you only want spooky shapes.
- Baking powder: Leavens the cookies slightly, making them rise just right.
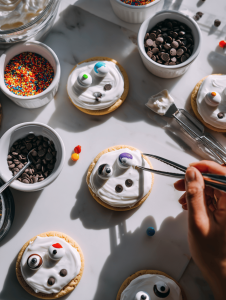
- Decorative add-ins: Chocolate chips, candy eyes, or icing—choose what makes your haunted house come alive.
Tools of the Haunted Trade
- Mixing bowls: Combine ingredients evenly, no lumps or uneven textures.
- Electric mixer: Cream butter and sugar smoothly, saves arm fatigue.
- Baking sheet: Provide a flat, heat-conducting surface for even baking.
- Parchment paper: Prevent sticking and easy cleanup.
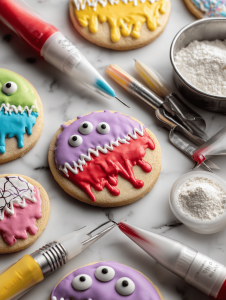
- Decorating bags and tips: Create creepy eyes, dripping blood effects, or jagged edges.
Crafting Spooky Shapes and Perfecting the Bake
Step 1: Preheat your oven to 175°C (350°F).
Step 2: Line a baking sheet with parchment paper.
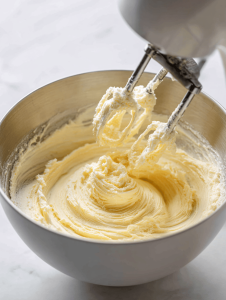
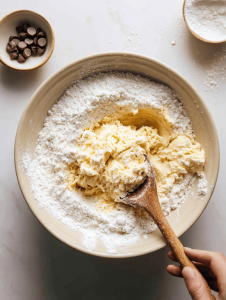
Step 3: Cream softened butter with sugar until fluffy, about 3 minutes.
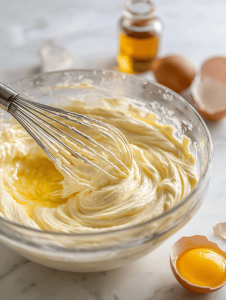
Step 4: Add egg and vanilla, mix until smooth.
Step 5: In a separate bowl, whisk together flour, baking powder, and salt.
Step 6: Gradually add dry ingredients to wet, mix until just combined.
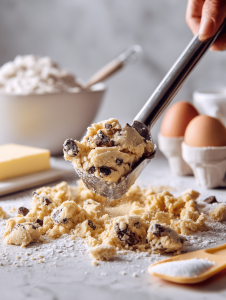
Step 7: Scoop dough with a tablespoon, shape into irregular, spooky shapes.
Step 8: Place on prepared baking sheet, leave space for spreading.
Step 9: Bake for 10-12 minutes, until edges are golden and cookies are crackly.
Step 10: Cool on wire rack for 5 minutes before decorating.
Tips and Tricks to Keep Your Cookies Haunted
- Edges should be golden and slightly crisp, not burnt.
- Cookies should crackle when you tap the top, indicating perfect dryness.
- Center should be firm but not hard, test with a gentle press.
- Decorate only after cookies are completely cooled to avoid smudging.
Common Haunted House Cookie Mistakes and Fixes
- Cookies are too soft and pale after baking.? OVER-Baked cookies turn hard and brittle. Fix: Reduce baking time and check for a crackly surface.
- Cookies spread too much and lose shape.? Dough is too sticky to shape. Fix: Chill dough for 30 minutes before shaping.
- Cookies are burnt at edges but still soft in the middle.? Decorations smudge or melt. Fix: Decorate only when cookies are fully cooled.
- Uneven cookie surface or inconsistent baking.? Ingredients clump during mixing. Fix: Sift dry ingredients and mix thoroughly.
Haunted House Cookies
Ingredients
Equipment
Method
- Preheat your oven to 175°C (350°F) and line a baking sheet with parchment paper.
- In a large mixing bowl, beat softened butter and sugar together with an electric mixer until the mixture is light, fluffy, and pale, about 3 minutes. The smell should be sweet and the texture creamy.
- Add the egg and vanilla extract to the butter mixture, beating until well combined and smooth. You should notice a slight change in texture, becoming more glossy.
- In a separate bowl, whisk together the sifted flour, baking powder, and salt. This helps ensure even distribution of leavening and prevents clumping.
- Gradually add the dry ingredients into the wet mixture, mixing on low speed until just combined. The dough will start to come together and feel slightly sticky but manageable.
- Scoop tablespoon-sized portions of dough and shape them into irregular, spooky shapes—think jagged edges or ghostly forms. Place each shape onto the prepared baking sheet, leaving enough space for spreading.
- Bake the cookies in the preheated oven for 10-12 minutes, or until their edges are golden brown and crackly, and the tops have a slight sheen. The crackles indicate perfect dryness and crunch.
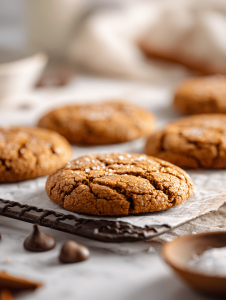
- Remove the baking sheet from the oven and let the cookies cool for about 5 minutes on the sheet, allowing them to firm up slightly. Then, transfer them to a wire rack to cool completely.
- Once completely cooled, decorate the cookies using decorating bags filled with icing, adding creepy eyes, dripping blood effects, or jagged edges to bring your haunted house to life.
- Finish by adding chocolate chips, candy eyes, or other spooky details for extra character. Let the decorations set for a few minutes before serving.
Notes

Hi, I’m Lily Hayes, the cook, writer, and heart behind Loving This Process. This blog is built on a simple idea that food is not just about the final dish, but about everything that happens while you’re making it. The thinking, the tasting, the adjusting, the learning, and the quiet moments in between. Food has been a constant presence in my life, not as something flashy or perfect, but as something deeply grounding. Cooking has always felt like a process worth savoring, even when it’s messy, slow, or imperfect.

Leave a Reply