Halloween is all about playful scares and sweet surprises, but I lean into the savory side for my spooky gatherings. These quesadillas are a lazy, colorful tribute to the holiday, with a touch of chaos in every fold. They’re simple enough to whip up last-minute but fun enough to make everyone smile. Plus, the smoky cheese and crispy edges give a satisfying crunch that keeps people coming back.
Why I Keep Coming Back to These Halloween Quesadillas
They’re quick, forgiving, and endlessly customizable. I love how the crispy edges and gooey center come together in every batch, even when I’m rushing. Plus, they’re perfect for sharing or making in a pinch when last-minute guests arrive. The vibrant colors and playful fillings make every bite a little celebration.
Spooky Good Ingredients for Your Quesadilla
- Cheese: I love a sharp cheddar or a smoky Gouda. Swap for mozzarella if you want stretch.: Melts beautifully and adds that gooey, oozy texture.
- Tortillas: Corn or flour both work, but I prefer thin flour for crispness.: A neutral base that crisps up nicely and holds fillings.
- Fillings: Black beans, orange peppers, shredded chicken — go wild with your spooky mix.: Colorful, flavorful, and filling, these add a festive punch.
- Spooky toppings: Black olives, chopped tomatoes, or even a drizzle of hot sauce.: Add visual punch and flavor depth.
- Seasonings: Cumin, chili powder, and smoked paprika.: Bring smoky warmth and depth to your fillings.
Tools of the Trade for Spooky Snacks
- Skillet or griddle: To cook the quesadillas evenly and achieve a crispy exterior.
- Spatula: To flip and handle the quesadillas with care.
- Knife: To chop fillings or cut quesadillas for serving.
- Cutting board: To prepare fillings and assemble safely.
Crafting the Perfect Halloween Quesadillas
Step 1: Preheat your skillet over medium heat, about 180°C (350°F).
Step 2: Lay a tortilla flat, then spread a thin layer of cheese on half.
Step 3: Add your spooky fillings — think black beans, orange bell peppers, and shredded chicken — then fold.
Step 4: Cook for 2-3 minutes until the bottom is golden and crispy.
Step 5: Flip carefully, cook another 2-3 minutes until cheese is melty and filling is heated through.
Cooking Tips & Tricks for Halloween Quesadillas
- Ensure your skillet isn’t too hot to avoid burning the tortillas before cheese melts.
- Press down gently when flipping to keep fillings compact and prevent spilling.
- Look for a golden-brown color on the edges for perfect crispness.
- Use a spatula to lift edges and check for even melting and crisping.
Avoid These Common Halloween Quesadilla Fumbles
- Burned edges and under-melted cheese.? Use medium heat; high heat burns tortillas before cheese melts.
- Spilled filling and uneven cooking.? Press down gently when flipping; too much pressure squeezes out fillings.
- Soggy, shredded fillings.? Let the quesadilla rest 1 minute off heat to set before slicing.
- Pale, limp tortillas.? Check for a golden color; if not, cook a little longer.
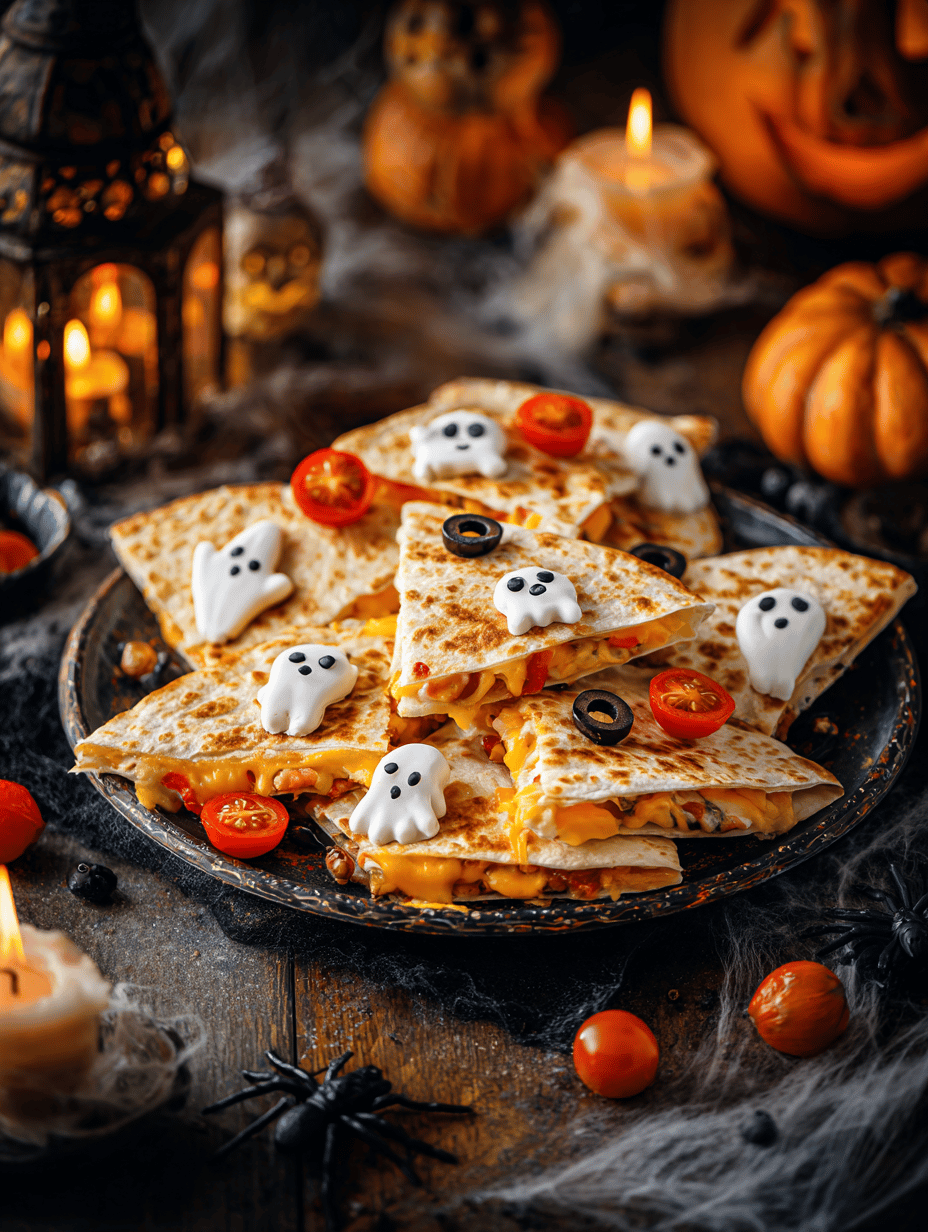
Halloween Quesadillas
Ingredients
Equipment
Method
- Preheat your skillet over medium heat until warm and fragrant.
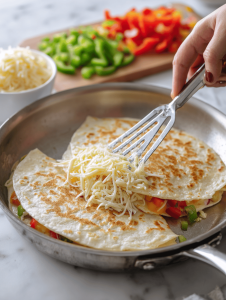
- Lay a tortilla flat on a cutting board and spread a thin layer of cheese on half of it, covering about half of the tortilla.
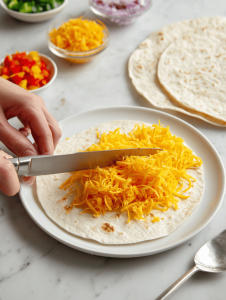
- Add your colorful fillings—black beans, sliced orange peppers, and shredded chicken—over the cheese on one side of the tortilla.
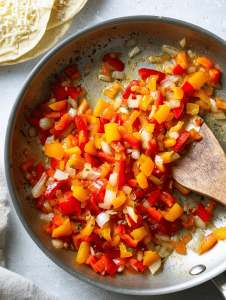
- Fold the tortilla in half, pressing gently to seal the fillings inside.
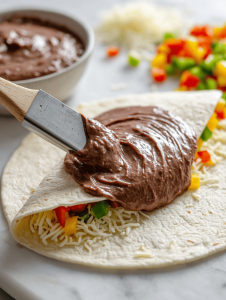
- Carefully transfer the folded quesadilla onto the preheated skillet, listening for a gentle sizzle as it contacts the pan.
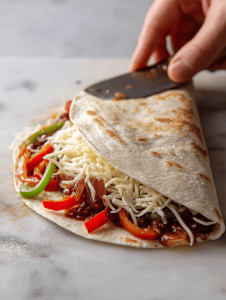
- Cook for about 2-3 minutes until the bottom is golden brown and crispy, then flip with a spatula.
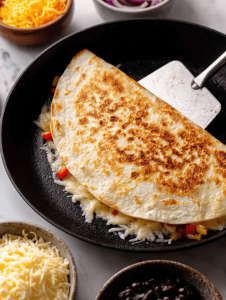
- Cook for another 2-3 minutes on the second side until the cheese is melted and the edges are crispy.
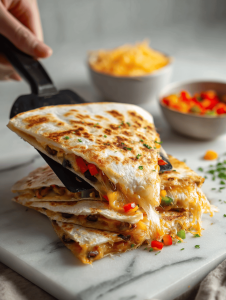
- Use a spatula to gently lift and check for a deep golden color and crispy texture on both sides.
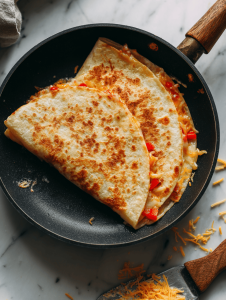
- Transfer the cooked quesadilla to a cutting board and let it rest for a minute to set the fillings.
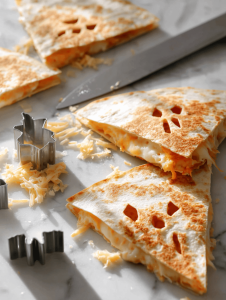
- Slice the quesadilla into wedges, revealing the gooey melted cheese and colorful fillings inside.
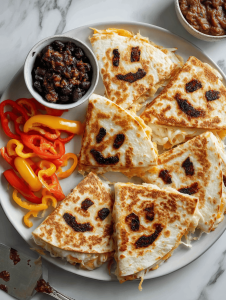
- Decorate with sliced black olives, chopped tomatoes, or drizzle hot sauce for a spooky finishing touch.
- Serve warm and enjoy the crispy, cheesy, colorful bites that make every Halloween gathering a little more festive!
