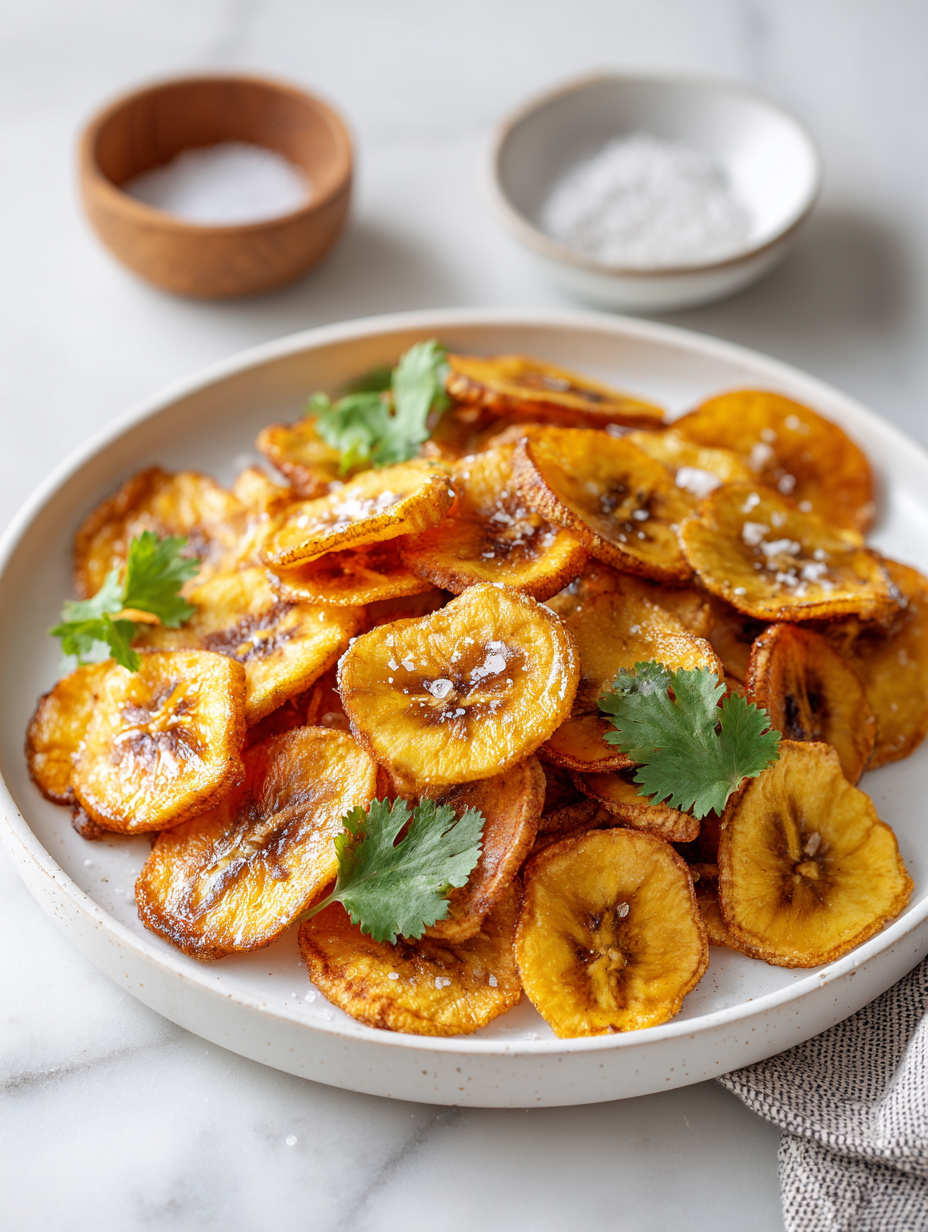
Making homemade baked corn chips feels like reclaiming a childhood favorite, but with a grown-up twist. There’s something about the process—rolling, cutting, baking—that turns a snack into a little ritual. Plus, you get to control the salt, oil, and seasoning, making it healthier and totally customizable.
These chips aren’t just for dipping; they’re a blank canvas. I love experimenting with flavors—smoky paprika, zesty lime, or even a sprinkle of chili powder. It’s a fun way to add personality to a snack that’s often just store-bought and generic.
Baking instead of frying keeps things simple and lighter, but the crunch still hits just right. It’s a perfect project for a quiet afternoon or when you want something homemade but not complicated.
Focusing on the nostalgic charm and customizable nature of homemade baked corn chips, emphasizing their role as a personal snack canvas rather than just a side or appetizer.
The story behind this recipe
- I started making these baked corn chips after a trip to a small Mexican village where street vendors sold crispy, golden chips straight from their wood-fired ovens. The smell of roasting corn and smoky chilies stayed with me long after I left, and I wanted to recreate that in my own kitchen.
- One afternoon, I grabbed some leftover masa and a handful of spices, and just started experimenting. The first batch was a disaster—too thick, too greasy, but I loved the flavor of the corn and the way the edges crisped up in the oven.
- Now, I keep tweaking the recipe, aiming for that perfect balance—light but crunchy, with just enough flavor to hold its own against salsa or guacamole. It’s become a little ritual, baking a batch when I need a snack that feels like a small victory.
Key ingredients in my baked chips
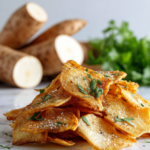
- Yellow dent cornmeal: I love how the coarse grind gives the chips that rustic crunch; try a finer grind if you prefer a softer bite.
- Salt: It’s the flavor anchor, but be cautious—start small and taste as you go to avoid over-salting.
- Olive oil: I prefer a mild extra virgin here for richness, but a neutral oil like sunflower keeps the flavor pure and light.
- Lime zest: Adds a zing that wakes up the corn’s sweetness; skip if you want a milder, more traditional flavor.
- Paprika or chili powder: I like smoked paprika for depth, but a dash of cayenne gives a fiery kick—adjust to your heat tolerance.
- Corn kernels (optional): Fresh or frozen, they add texture—blitz in the processor for a more authentic masa-like dough.
- Water: Just enough to bind the dough, but too much can make the chips chewy—go slow and keep it just moist.
Highlight on Key Ingredients
Cornmeal:
- Yellow dent cornmeal: I love how the coarse grind gives the chips that rustic crunch; try a finer grind if you prefer a softer bite.
- Salt: It’s the flavor anchor, but be cautious—start small and taste as you go to avoid over-salting.
- Olive oil: I prefer a mild extra virgin here for richness, but a neutral oil like sunflower keeps the flavor pure and light.
Spices & Zest:
- Lime zest: Adds a zing that wakes up the corn’s sweetness; skip if you want a milder, more traditional flavor.
- Paprika or chili powder: I like smoked paprika for depth, but a dash of cayenne gives a fiery kick—adjust to your heat tolerance.
Notes for ingredient swaps
- Dairy-Free: Swap butter for coconut oil or a neutral plant-based oil. Keeps the chips dairy-free but may alter richness slightly.
- Gluten-Free: Use certified gluten-free cornmeal. Most store-bought cornmeal is naturally gluten-free, but always check labels.
- Low-Sodium: Reduce salt or use a potassium-based salt substitute. The flavor will be milder, so adjust seasoning accordingly.
- Smoky Flavor: Incorporate smoked paprika instead of regular paprika for a deeper smoky taste. Adds a warm, earthy aroma.
- Vegan: Ensure the cornmeal and any added flavorings are plant-based. Omit honey or animal-derived ingredients.
- Extra Crunch: Add a tablespoon of ground flaxseed or chia seeds soaked in water to the dough—creates a slightly different texture, more brittle.
- Herb Variations: Mix in finely chopped herbs like cilantro or oregano for added freshness and flavor complexity.
Equipment & Tools
- Baking sheet: To hold the chips during baking, ensuring even heat exposure.
- Parchment paper: Prevents sticking and makes cleanup easier.
- Rolling pin: To roll out the dough evenly to a thin layer.
- Sharp knife or pizza cutter: To cut dough into uniform shapes.
- Wire rack: To cool the chips and help maintain crispness.
Step-by-step guide to baked corn chips
- Preheat your oven to 180°C (350°F). Gather a baking sheet lined with parchment paper and a rolling pin.
- In a mixing bowl, combine 1 cup of cornmeal, 1/4 teaspoon salt, and 1 tablespoon olive oil. Mix well.
- Gradually add 1/4 cup water, stirring until a dough forms. Knead gently until cohesive but not sticky.
- Divide the dough into two balls. Place one on a floured surface and roll out to about 2mm thickness. Repeat with the second ball.
- Use a sharp knife or pizza cutter to cut the dough into triangles or desired shapes. Transfer to the prepared baking sheet.
- Bake for 12-15 minutes, or until edges are golden brown and crispy. Keep an eye on the color—avoid over-browning.
- Remove from oven and let sit for 2-3 minutes to firm up. If chips are soft, bake a few minutes more.
- Transfer chips to a wire rack and cool completely before serving. They will crisp up as they rest.
- Taste a chip for crunch and flavor—adjust seasoning with a pinch of salt or spice if needed.
Let the chips cool on a wire rack for a few minutes until fully crisp. Serve immediately or store in an airtight container for later. For extra crunch, reheat in a 180°C (350°F) oven for 3-5 minutes, watching for color and aroma cues.
How to Know It’s Done
- Edges are golden and crispy, not burnt.
- Chips emit a faint crackle when broken or bitten.
- The chips feel firm yet light, not chewy or greasy.
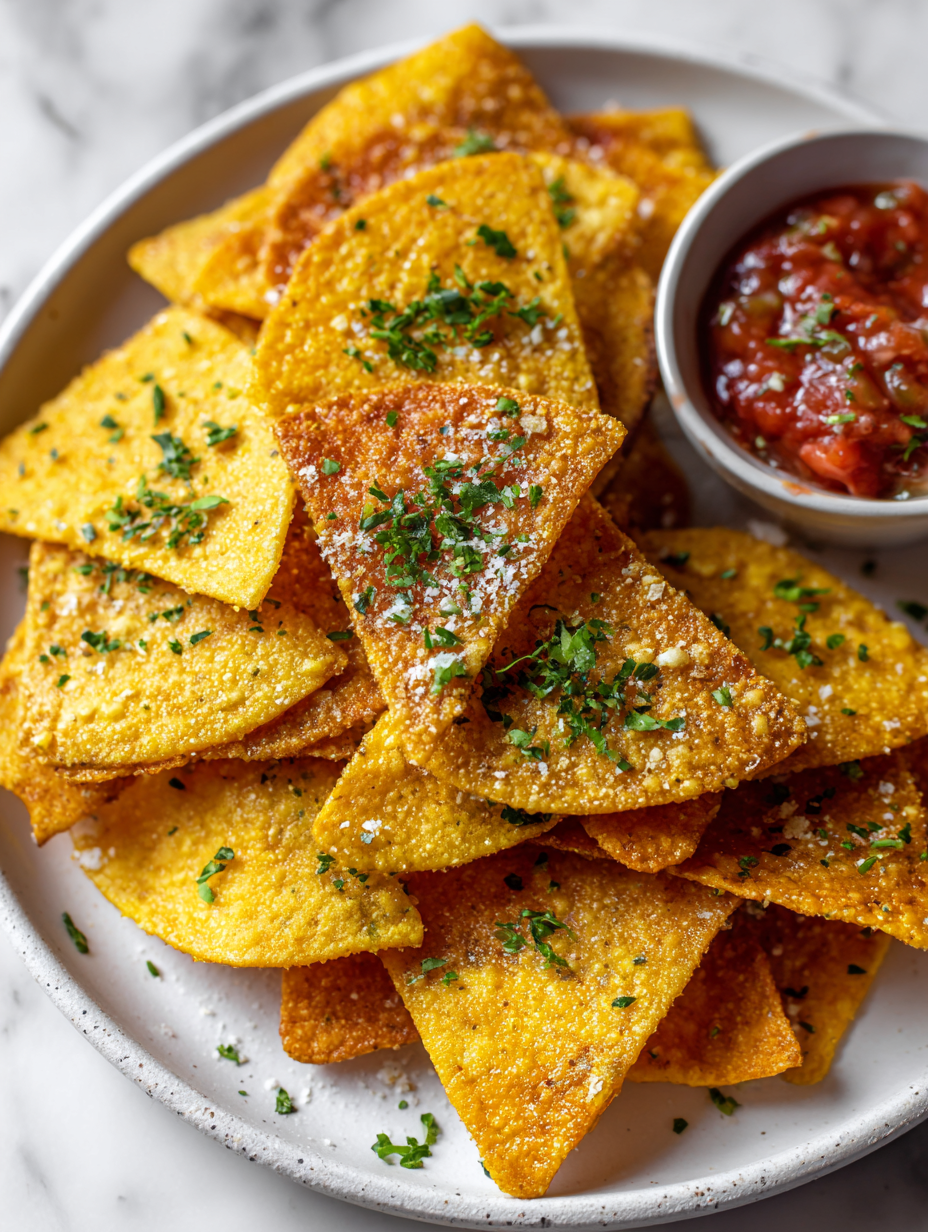
Homemade Baked Corn Chips
Ingredients
Equipment
Method
- Preheat your oven to 180°C (350°F) and line a baking sheet with parchment paper.
- In a mixing bowl, combine the cornmeal and salt, then stir in the olive oil until the mixture looks crumbly and resembles coarse sand.
- Gradually pour in the water, stirring as you go, until the dough begins to come together. Knead gently in the bowl until smooth, adding a touch more water if it’s too dry or a bit more cornmeal if too sticky.
- Divide the dough into two equal parts. Place one on a floured surface and use a rolling pin to roll out to about 2mm thickness, working from the center outward for an even layer.
- Use a sharp knife or pizza cutter to trim the edges and cut the dough into triangles or your preferred shape. Transfer the cut pieces to the prepared baking sheet, spacing them slightly apart.
- Bake the chips for about 12-15 minutes, or until the edges are golden and crispy. Keep a close eye near the end to prevent over-browning.
- Once baked, remove the chips from the oven and allow them to cool on a wire rack for a few minutes. They will crisp up further as they cool down.
- Enjoy the chips fresh for maximum crunch or store in an airtight container for later — they’ll stay crispy for up to three days.
Pro tips for perfect baked chips
- edges: Use a sharp knife or pizza cutter for clean, even shapes that bake uniformly.
- Crisp check: Bake until edges are golden and emit a faint crackle—don’t wait until they’re too dark.
- Even rolling: Roll dough between two sheets of parchment for a consistent thickness and quick prep.
- Watch the color: Keep an eye on the chips in the oven—edges can go from perfect to burnt fast.
- Cooling is key: Rest chips on a wire rack to prevent sogginess and enhance crunch.
- Flavor boost: Brush lightly with oil and sprinkle seasoning halfway through baking for even flavor.
- Avoid sticking: Use parchment paper liberally to prevent chips from tearing or sticking during baking.
Common mistakes and how to fix them
- FORGOT to preheat the oven → Always preheat for even baking and crisping.
- DUMPED too much water in dough → Add water gradually to avoid a sticky, unworkable dough.
- OVER-TORCHED chips → Remove chips once edges are golden brown; they darken quickly.
- MISSED resting time → Let chips cool on a rack to crisp up fully and prevent sogginess.
Quick Fixes for Baked Corn Chips
- When chips burn quickly → Splash with a little water and lower oven temp.
- If chips are soggy → Patch with a few minutes in a hot oven for crispness.
- DUMPED too much oil → Shield with a paper towel to absorb excess before baking.
- Over-baked edges → Rescue with a quick 2-minute broil, watching carefully.
- Pantry swap: Use crushed tortilla chips instead of homemade for instant crunch.
Prep, store, and reheat tips
- Prep the dough up to a day in advance; wrap well and refrigerate. The dough firms up and is easier to roll.
- Store baked chips in an airtight container at room temperature for up to 3 days. Expect slight loss of crispness over time.
- For longer storage, freeze chips in a sealed bag for up to a month. They may develop a slight freezer aroma if not well wrapped.
- Reheat in a 180°C (350°F) oven for 3-5 minutes until warmed and crispy. Listen for that satisfying crackle as they come back to life.
- Recrisp chips by baking briefly if they soften—watch for golden edges and a smoky aroma to confirm they’re back to perfect.
Top questions about baked corn chips
1. How do I know when the chips are done?
Look for chips that are golden around the edges and emit a faint crackle when broken. They should feel firm but light, not greasy or chewy.
2. Can I cut the chips into different shapes?
Use a sharp knife or pizza cutter for clean shapes. Check the oven at 12 minutes—edges should be golden and crispy.
3. What temperature should I bake these at?
Bake on parchment-lined sheet at 180°C (350°F). Rotate the sheet halfway for even crisping. Keep an eye for that golden hue.
4. My dough is too dry or sticky, what now?
Add more water if dough feels crumbly. If too sticky, dust with a little more cornmeal and chill for 10 minutes before rolling.
5. How should I store baked chips?
Store in an airtight container at room temp for up to 3 days. For longer, freeze for up to a month, then reheat in oven.
6. Can I reheat baked chips?
Reheat in a 180°C (350°F) oven for 3-5 minutes until crisp and warm. Expect a faint aroma of toasted corn to signal readiness.
7. What flavor variations can I try?
Use a mixture of cornmeal and spices to customize flavors. Smoked paprika adds depth, lime zest brightens, and chili powder brings heat.
8. Can I make these dairy-free or vegan?
You can swap olive oil for neutral oils like sunflower or avocado. For dairy-free, use coconut or other plant oils.
9. My chips are burning too quickly, what should I do?
Be cautious not to over-brown. If edges darken too fast, lower oven temperature slightly or shield with foil.
10. How do I get the chips evenly crispy?
Avoid overworking dough; knead gently. Roll out evenly between parchment to prevent uneven baking and cracking.
These baked corn chips are a reminder that simplicity and patience in the kitchen can yield something truly satisfying. The aroma of toasted corn and smoky spices filling the room makes every batch feel like a little celebration. It’s a snack that’s both nostalgic and fresh, perfect for sharing or just sneaking a handful when no one’s looking.
Whenever I make these, I’m reminded of lazy Sunday afternoons and the joy of crafting something from scratch. They’re not just chips—they’re a small act of homemade rebellion, a way to reclaim a favorite snack with honest, imperfect charm.

Hi, I’m Lily Hayes, the cook, writer, and heart behind Loving This Process. This blog is built on a simple idea that food is not just about the final dish, but about everything that happens while you’re making it. The thinking, the tasting, the adjusting, the learning, and the quiet moments in between. Food has been a constant presence in my life, not as something flashy or perfect, but as something deeply grounding. Cooking has always felt like a process worth savoring, even when it’s messy, slow, or imperfect.
Leave a Reply